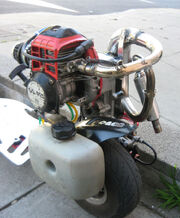
This project details the modification of a Goped GSR40 with a pocket bike CVT and the incredible performance benefits experienced. The final ratio was 16.79:1 at its lowest and 9.6:1 at its highest. This compares to the stock ratio of 12.67:1. In all respects, this project was a success.
This project represents the first Goped GSR40 ever to be modified to use a CVT. For a guide to performing the same modification, see the guide to Adapting a CVT to a GSR40.
Video[]
You can see the video on youtube.
Gallery[]

Compatiblity[]
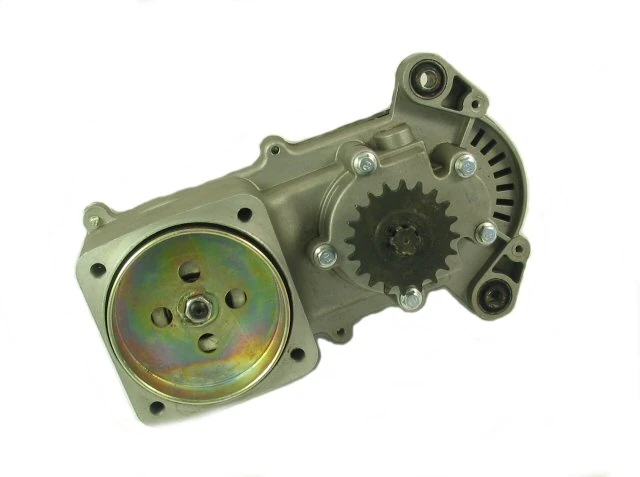


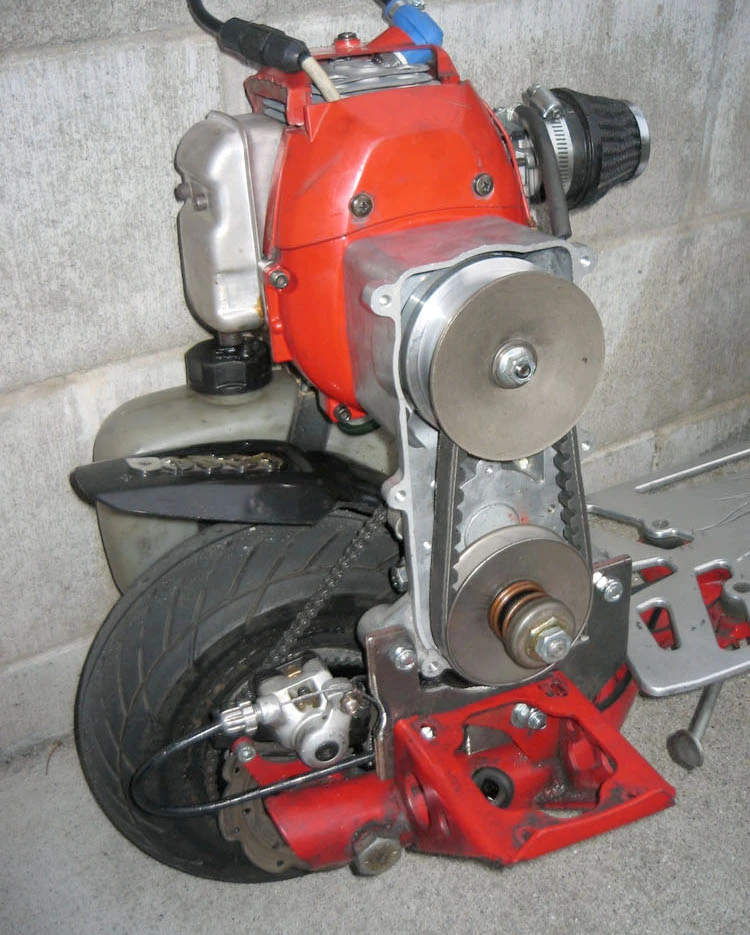
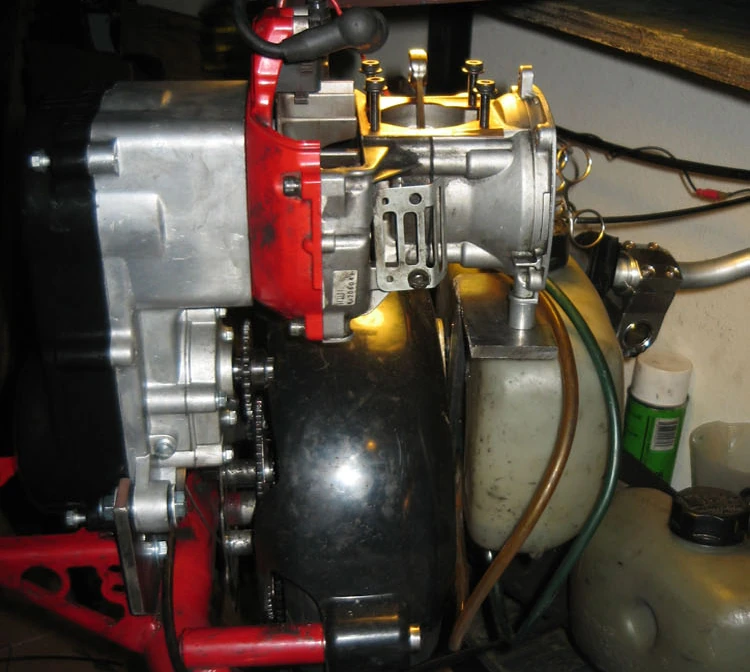
The CVT used is the same used by X2 Ninja Pocket Bike and can be found for about $45 dollars depending on where you are looking. Various reports suggest that it is of questionable quality, but a replacement set of bearings should fix that. For the purposes of this project and when used with the Zenoah G43L-D, it works great.
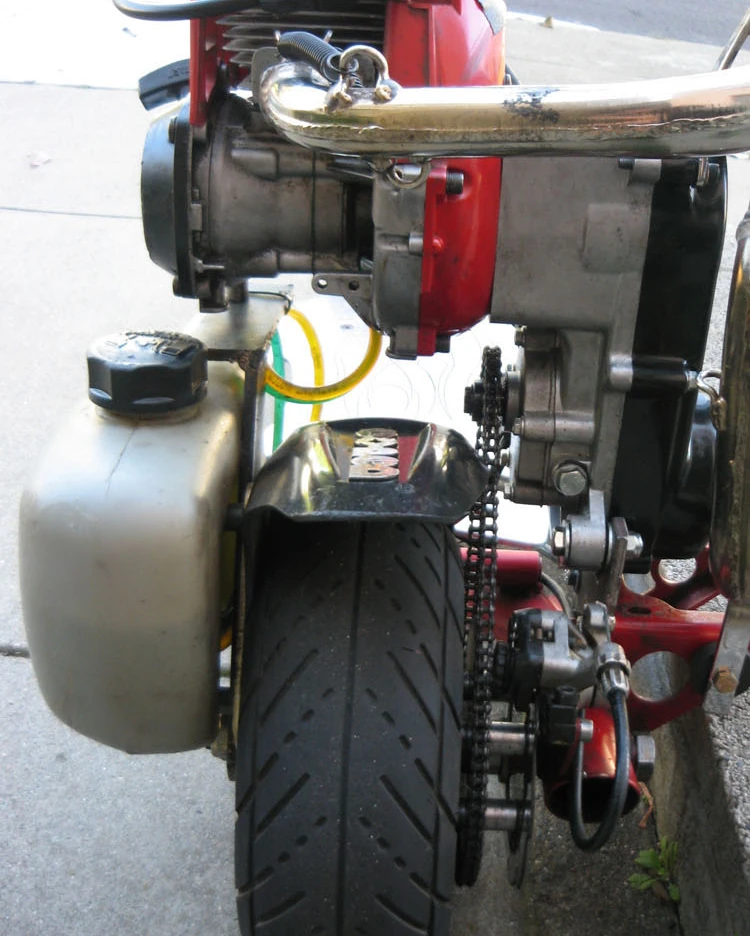
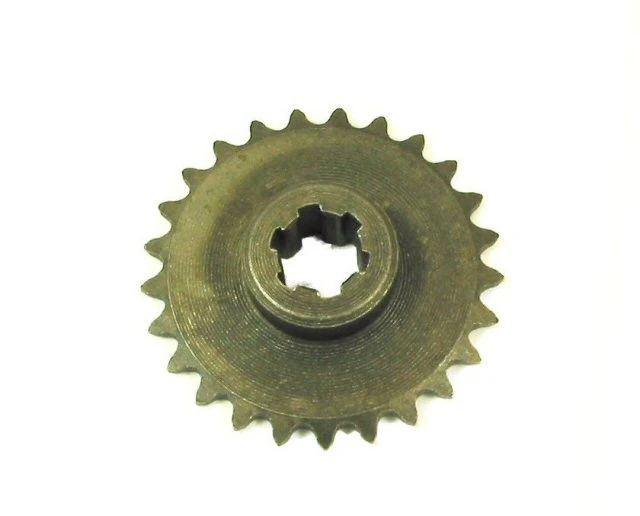
The output gear on the X2 CVT is sized for a BF05T 8mm chain, but the GSR uses a #25H chain. With this issue, there were two options: buy a BF05T rear sprocket and chain or buy a #25 pinion for the CVT. Although the BF05T chain would be larger and stronger, this builder decided to simply pick up the #25 pinion. The pinion gear that the CVT accepts has 6 spines on it which match up to the output shaft of the transmission. For the power of the Zenoah G43L-D, a 25T pinion worked well.
Also, in order to custom tune the CVT shift for the right time, half of the roller weights were removed from the variator and the contra spring was shimmed with a couple washers. The weights removed were, of course, staggered in order to maintain the spinning balance of the cones. The roller weights inside the variator are 16mm x 13mm.
Mounting the CVT[]
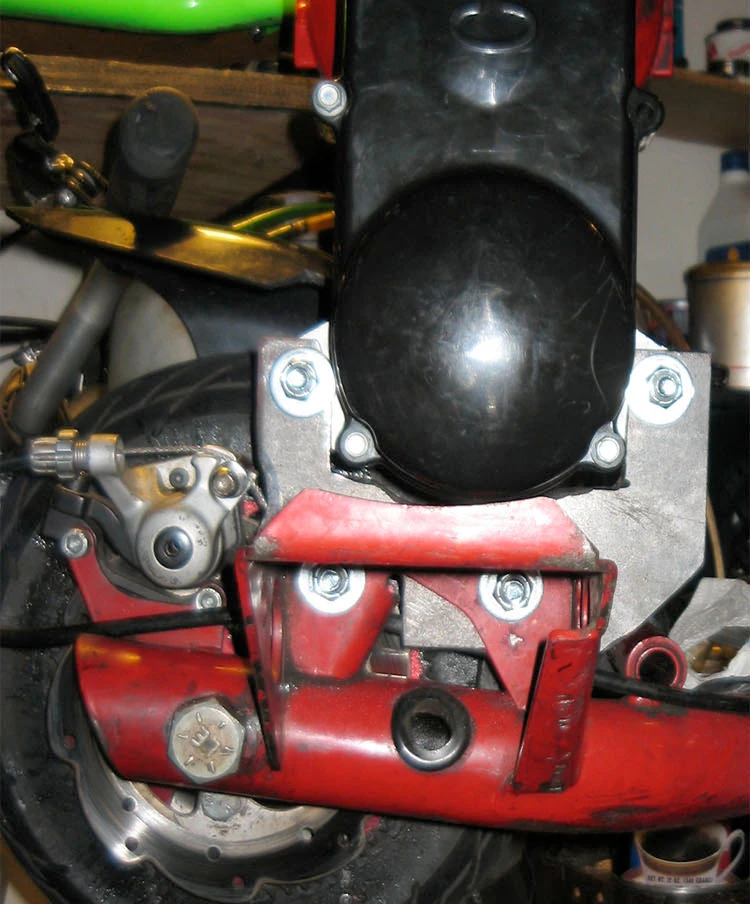

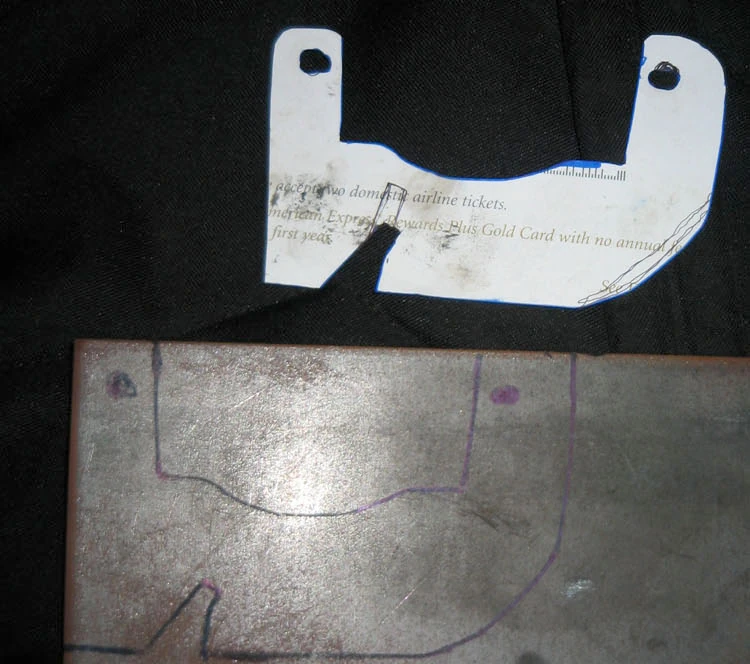

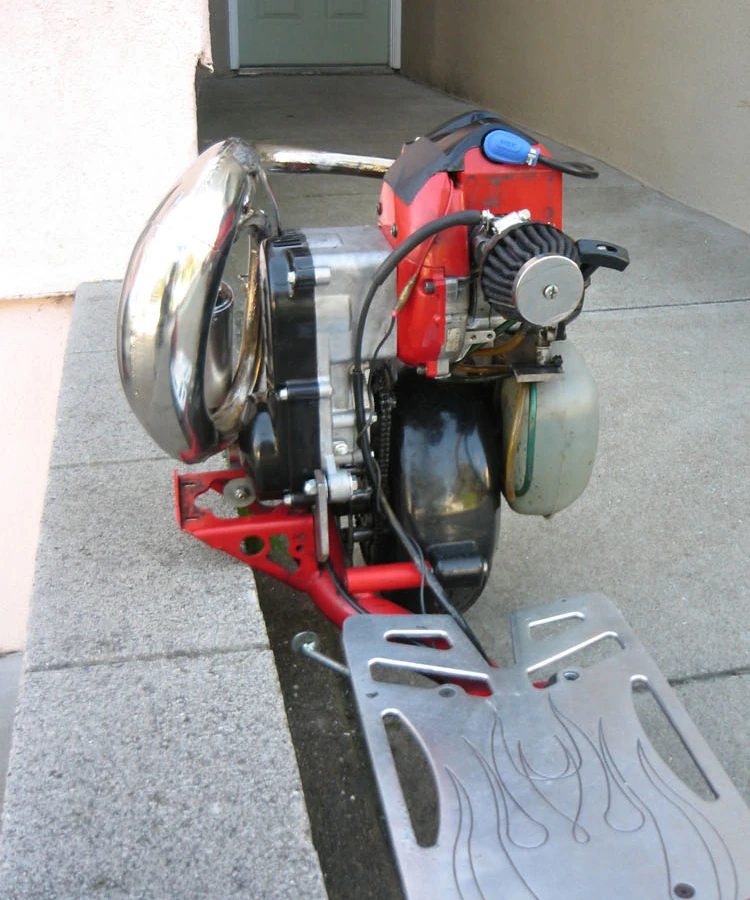
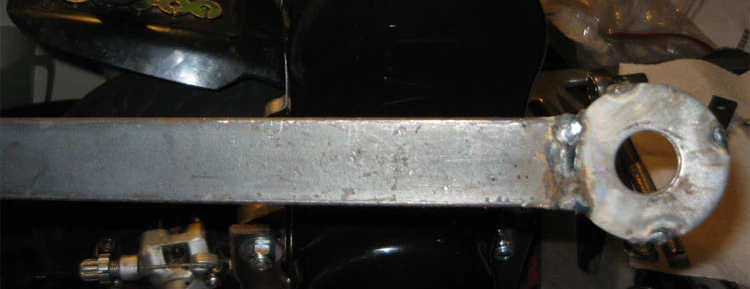
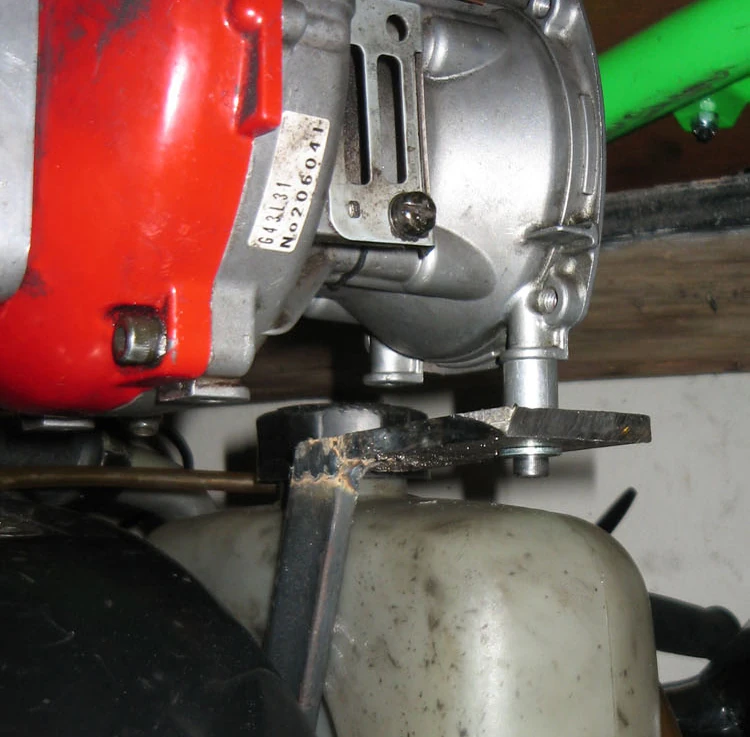
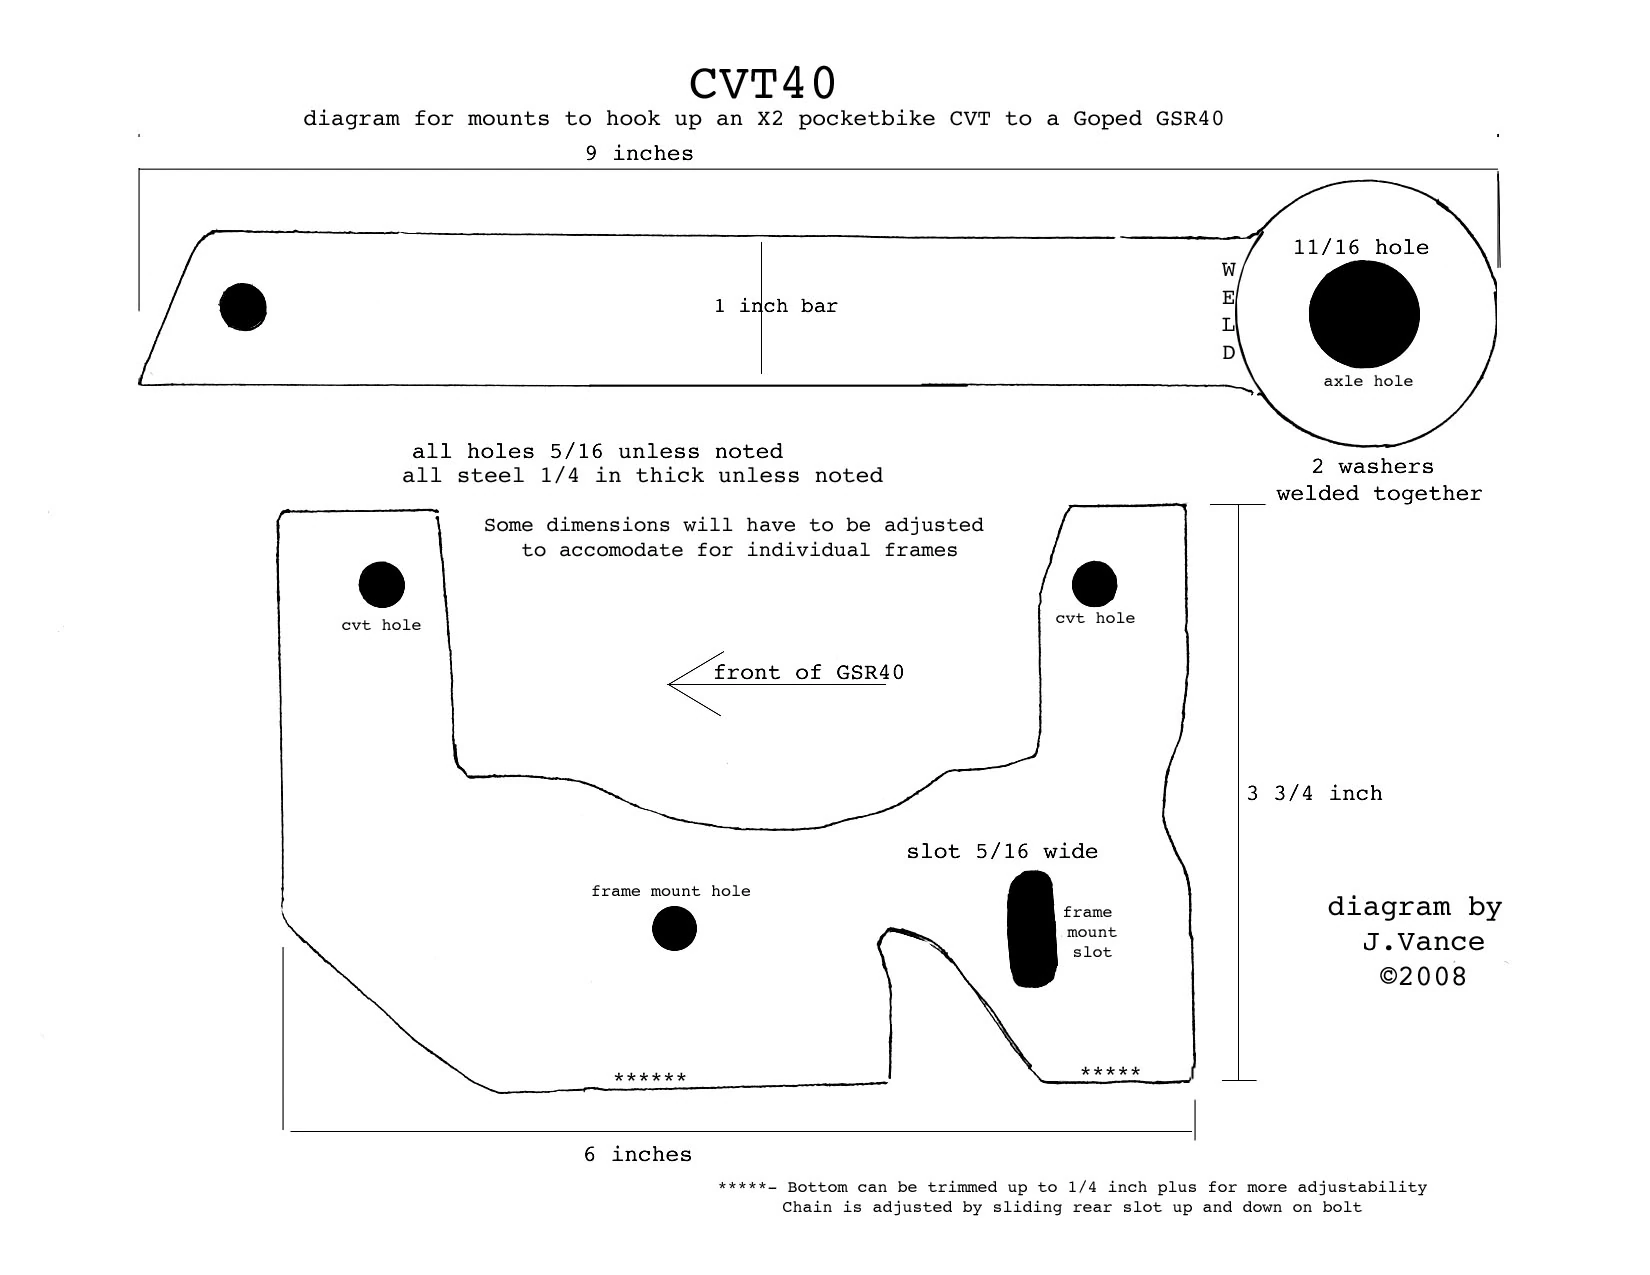
Engine mount side. The CVT came has two large, shock resistant mounting holes near the output gear. Those are used as the primary mount for the CVT and will be help in-line with the stock engine mount. In order connect the CVT and the engine mount, a steel plate was cut and drilled to fit. The mounting plate was also drilled for the CVT mounting plate. Robotguy was kind enough to draw up and share the specifications for these parts.
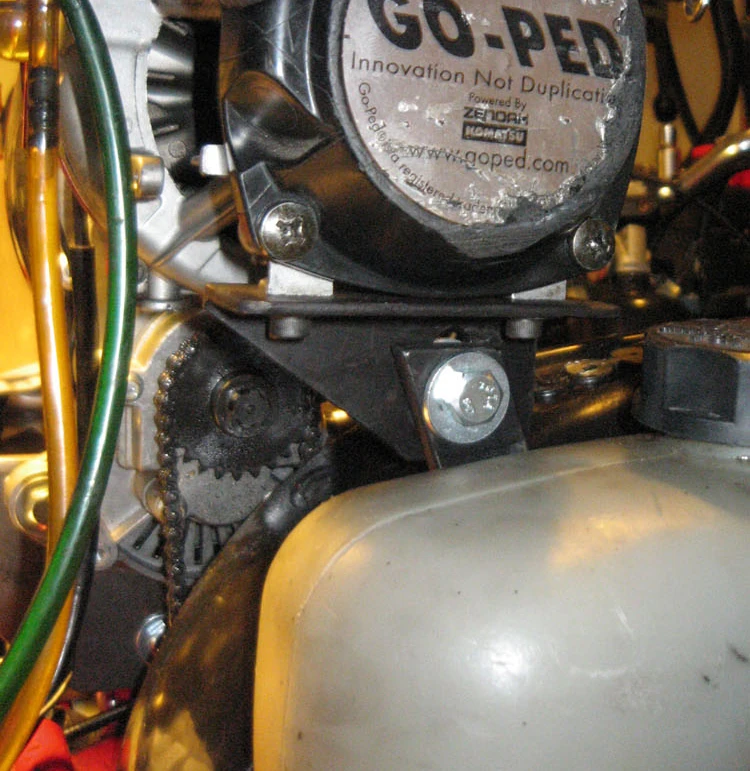

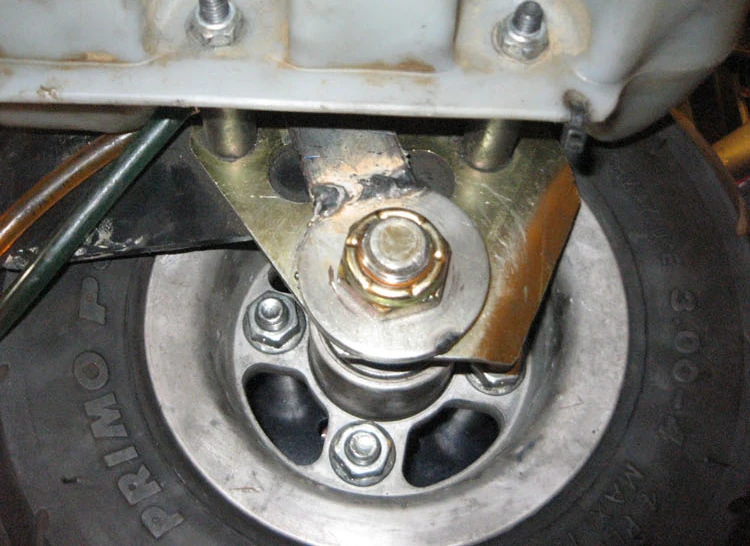

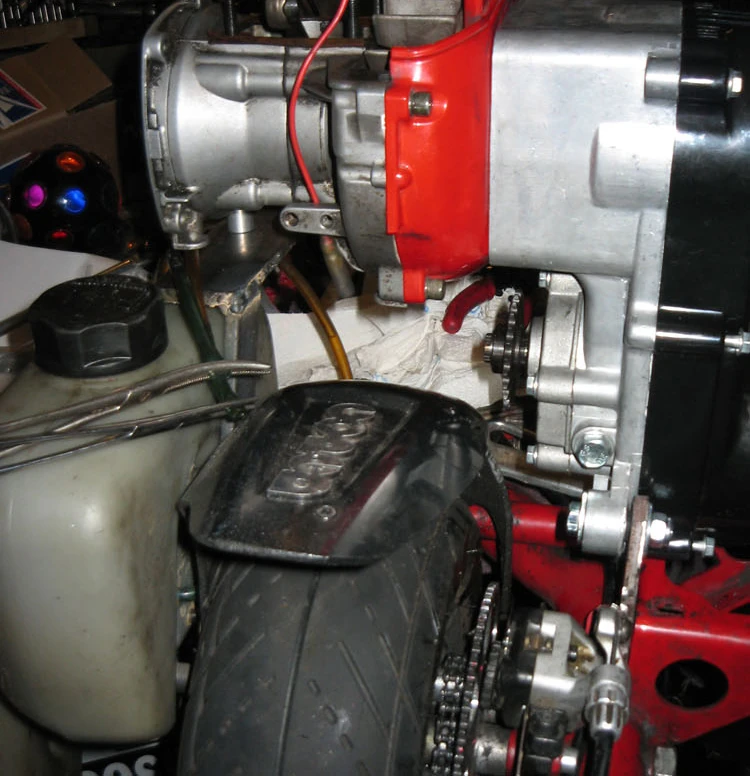
Gas tank side. In order to make sure that the frame could withstand the added leverage pressure of the CVT and engine, an additional mount needed to be fabricated on the axle side of the wheel. For this, a thin, steel rod was welded to a steel washer which would bolt to the axle. A mounting plate was then created in order to bolt it to the bottom of the engine.
Tensioning the chain.
A system for adjusting the chain tension was done though the same simple mechanism employed by the GTR. A slot shaped hole was cut into the mounting plate of the CVT and the whole mechanism could then actuate on the bolts. Once proper tension was found, the bolts could be tightened and the scooter would be ready to go.
Mounting images.
Piping the engine[]


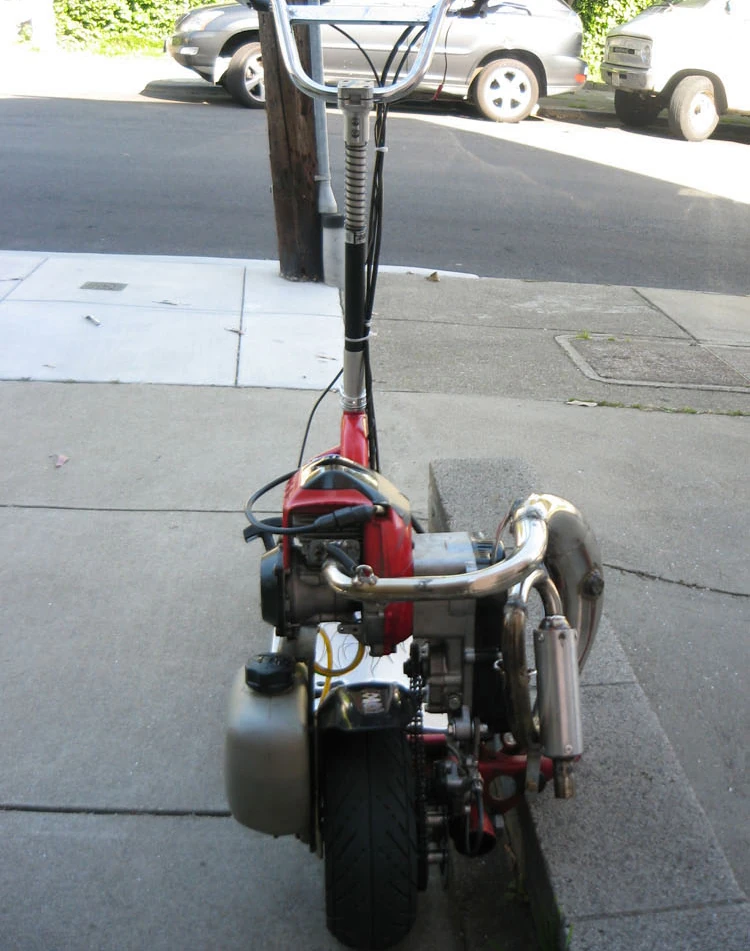
Since the engine is now facing in the other direction, a custom pipe needed to be fabricated as to not poke the rider in the ass. For this case, a custom pipe needed to be fabricated from parts.